


What is Expo?
Expo is a set of tools and services built around React Native and native platforms that help you develop, build, deploy, and quickly iterate on iOS, Android, and web apps from the same JavaScript/TypeScript codebase.
How to set up your first react native app?
First, you need to globally install the expo-cli on your computer. Expo CLI is the command-line interface for the Expo app. You can do multiple things with this interface.
- creating new projects
- developing your app
- running the project server
- viewing logs
- opening your app in simulator/emulator ...etc
You need to run two simple commands:-
$ npm install -g expo-cli
$ expo init secure-bank
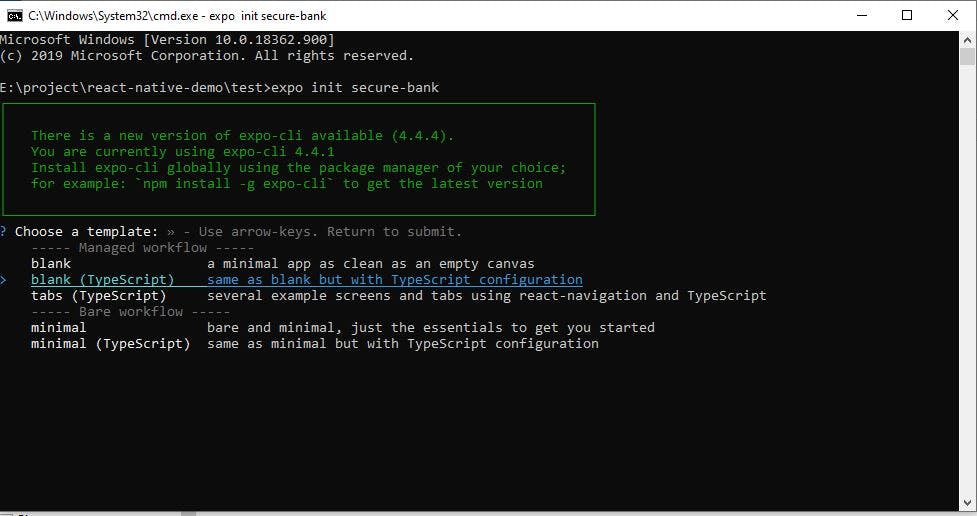
You can use a specific template: “blank”, “tabs”, “bare-minimum”, set package manager “yarn” or “npm”, also you can set up package name and bundle identifier.
After choosing the template, it creates the folder structures as follows in the image.
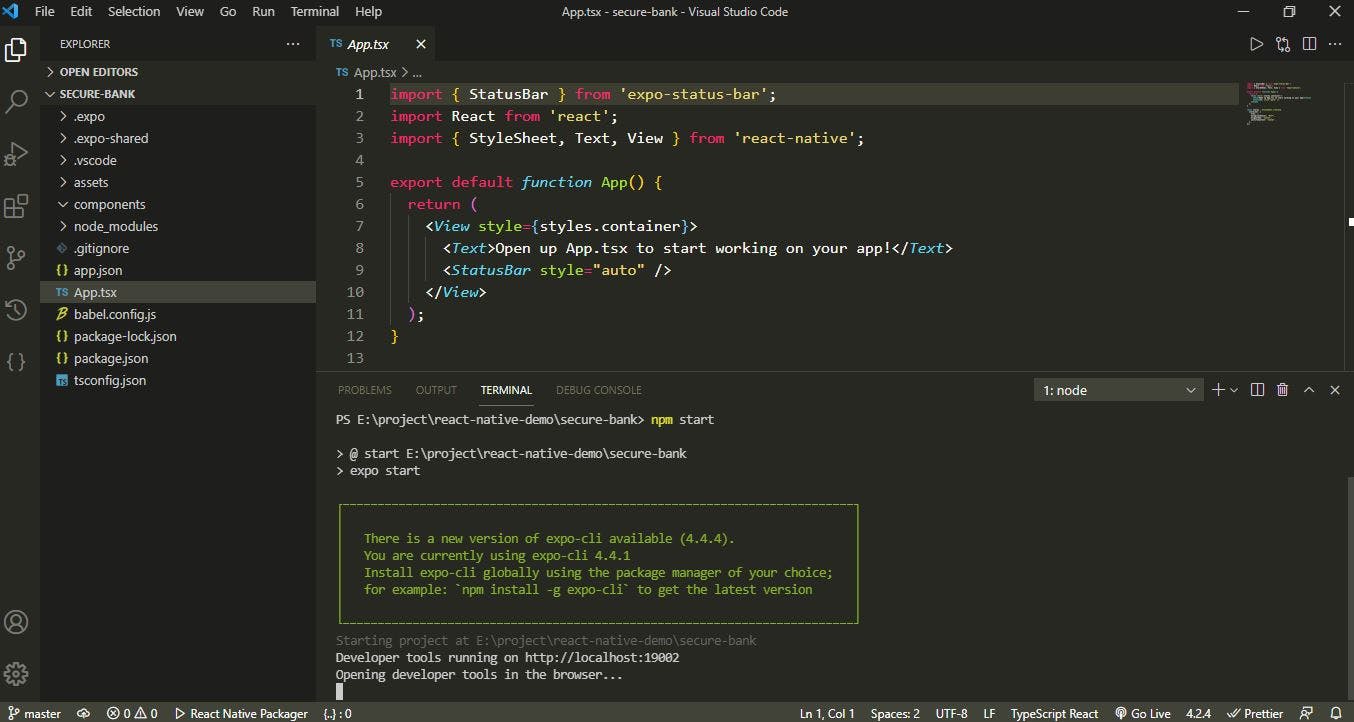
You can run your first application with this command.
$ npm start
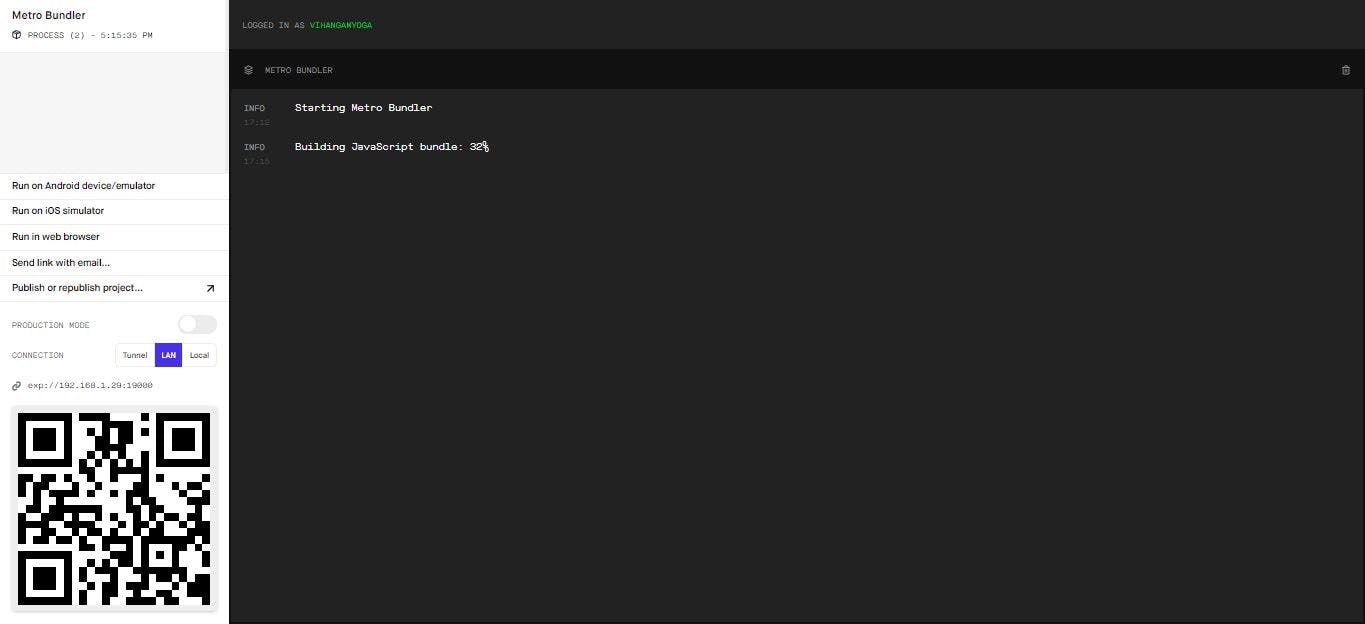
It runs your application in metro builder which provides a QR code. You can scan this QR code with the expo go app to run the app directly on your physical device.
The only necessity is to connect your phone with the same network on the computer. You can also run the application in a web browser or in a simulator/emulator provided you have already installed Xcode or Android Studio on your computer.
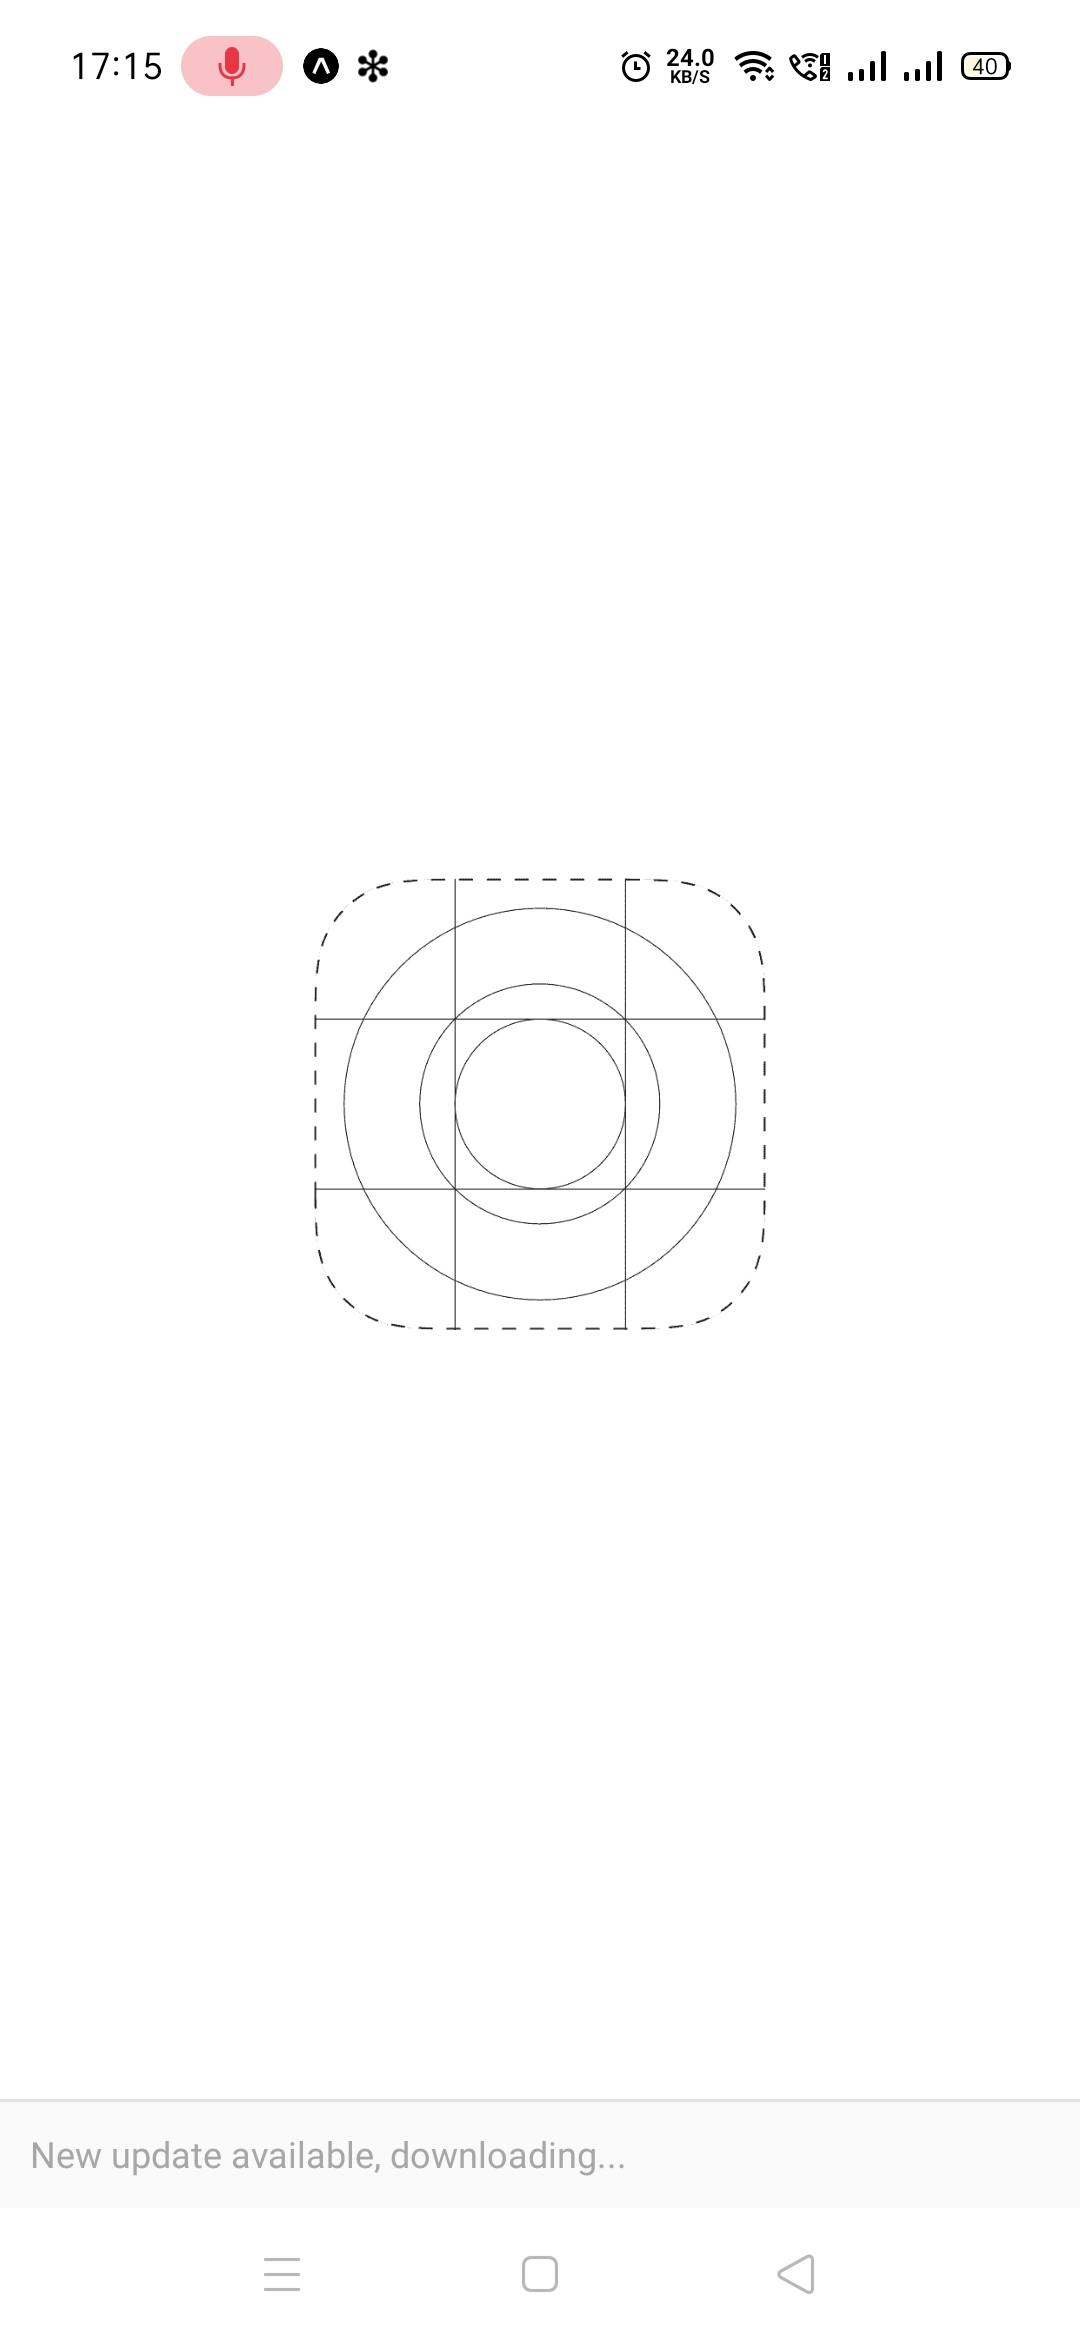
Here we go, once the javascript bundle is built completely, your app is running on the actual device.

Conclusion
This way, you can start building your first react native app using expo. It is the easiest way to start your journey in mobile app development.